|
|
General Questions
What is Okta?
Okta is a tool that replaces single sign on. Its purpose is to reduce the number of usernames and passwords that you will need to remember when using most common Sargent & Lundy applications. The Okta portal, located at https://snl.okta.com, gives you a single log in location for many of your frequently used web applications.
Signing into Okta
- Open the Edge Browser to log into Okta. This will generate the Okta sign in page (https://Snl.okta.com).
- Enter your employee ID and password using the same credentials you use to login to The Loop (https://the.loop.sargentlundy.com)
- Click Sign In.
- Select a security image. Select one of the images provided.
-
Click Create My Account.
Note: The first time you access Okta, you will be presented with a welcome screen and a few quick tips.
- Click the “Got It” button to begin using Okta.
Navigating Your Okta Homepage
Once you have logged in, the first screen you will see is the Okta Homepage. You will see several preloaded applications, known as “chiclets” which provide access to Sargent & Lundy applications as well as other web-based applications across the web.
Pre-Loaded Automatic Sign in, Applications
Preloaded Applications include The Loop, Fusion P8, and Costpoint. These application chiclets will be pre-installed the first time you open Okta. Pre-loaded applications will never require login information. They will automatically log you in and launch when you click on the chiclet.
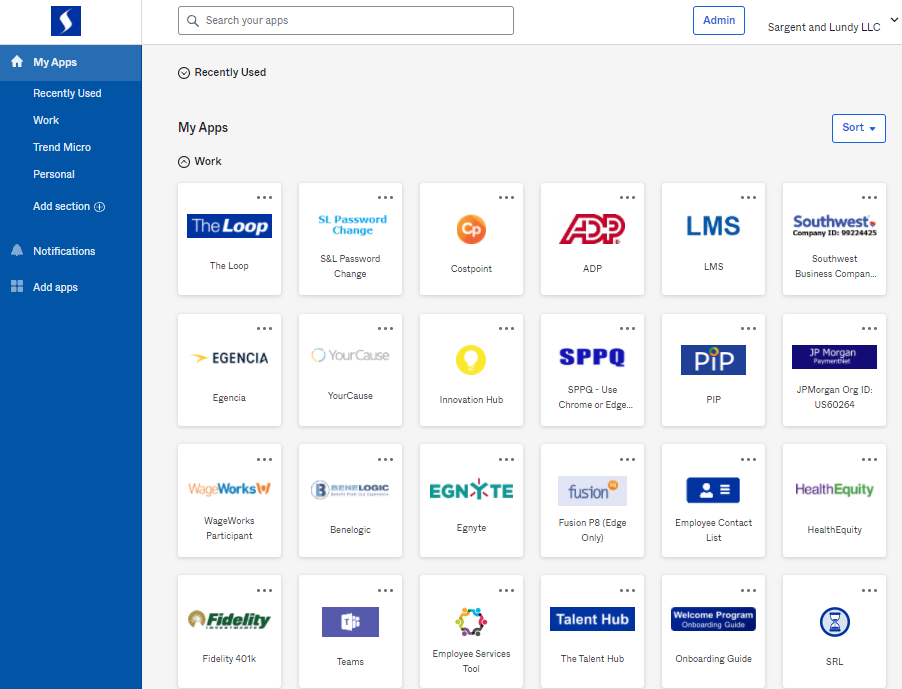
Pre-Installed Applications
ADP, Wageworks, Egencia and Benelogic will be pre-installed, but not pre-loaded. Once you add your login credentials to these application chiclets, you will be able to automatically log into them from Okta.
To add your login credentials to these application chiclets:
- Click the 3 dots on the desired application chiclet to open the application settings
- Enter your existing credentials. (You will only need to do this the first time you open the application.)
- Going forward you will just be able click on the application chiclet.
Note: when the application requires you to change your password or if you manually change the password, you will need to update the password in the Okta portal as well.
Adding “On the Fly” Applications
Accessing the Okta Shortcut on Your Browser Homepage
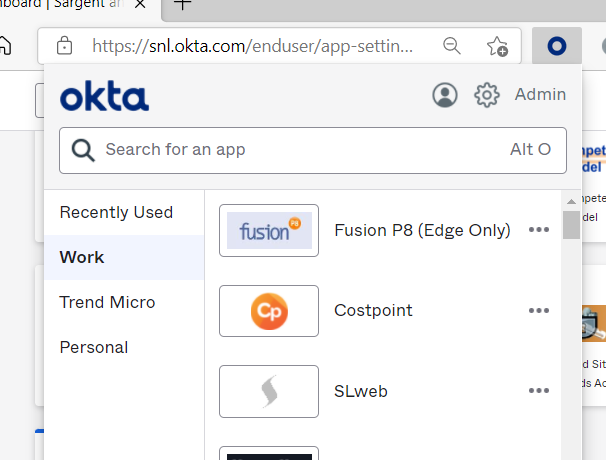
The Okta short cut will appear as a Blue “O” next to your address bar. You can access your Okta chiclets and Sections by clicking on the blue O.
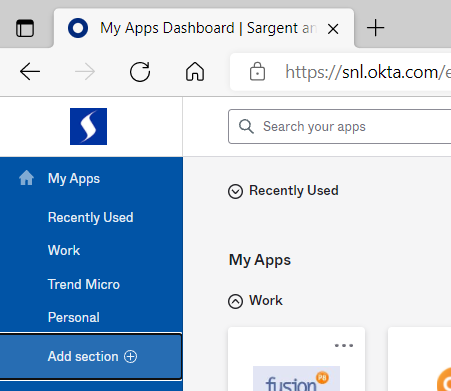
Using Sections in Okta
Sections in the Okta tool provide flexibility to organize your applications. The “Work” section will be pre-loaded on to your Okta Homepage.
To Add A Section
-
Click the '+' sign next to the Add section button.
-
Enter a name for your new Section
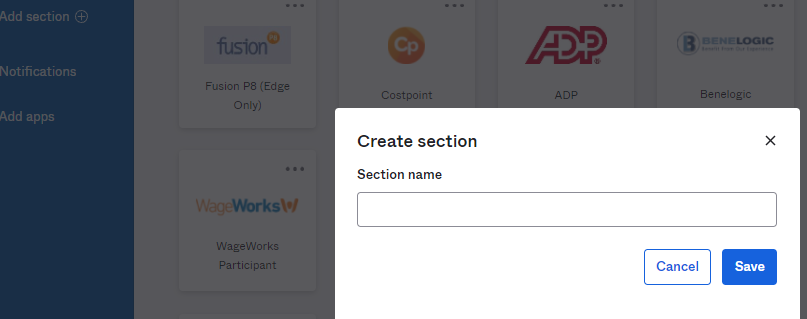
- Click “Save.”
Note: The system will allow up to five sections.
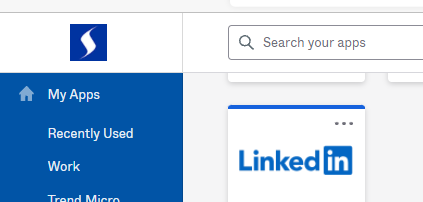
Managing Your Applications
Click and Drag Chiclets
To organize and reorder your sections and application chiclets by clicking and holding on a section or chiclet and dragging it to the desired section or location on the page.
Delete a Section
To delete a Section
- Remove all applications from the section by deleting them or clicking and dragging them in to another section.
-
Look for the “Remove section” option once all applications have been removed.
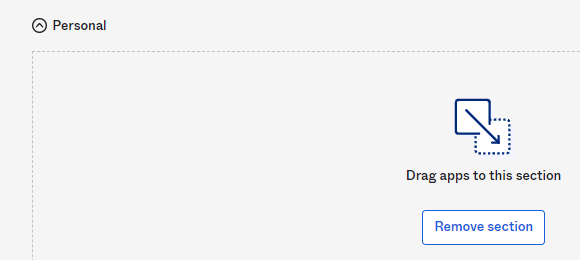
- Click on the “Remove Section” option to delete the tab.
Updating and Maintaining Passwords
To change your password for a specific application
- Hover your mouse over the application chiclet.
-
Click the 3 buttons to open the settings menu to the right.
-
Select the “Update Credentials” option for that application.
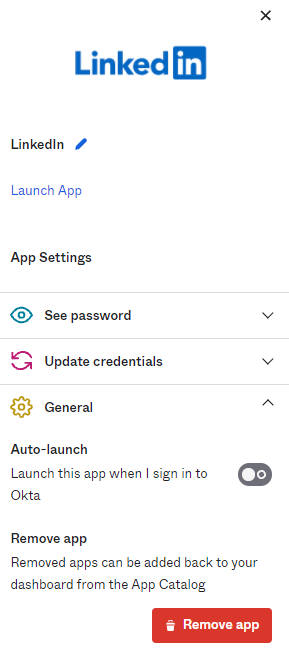
-
Save the new credentials.
Set Up Multifactor Authentication
It is possible to use your phone to access Okta when you are not in the office. Note: you will still need to log into Zscaler to access content on secure applications like P8.
Select Your Verification Device
- Open any web browser (Okta works on Chrome, Edge, Safari, Firefox and most other browser homepages).
- Type “snl.okta.com” in the browser address bar. The Okta Sign in Screen will appear.
- Type in your okta credentials
- Click Sign In.
- Click “Set up” on the Setup multifactor authentication screen.
- Select Okta Verify for the setup options.
- Select the icon of the type of Device you will use to authenticate Okta logins.
- Click “Next.”

Install the Okta Verify Application from the App Store
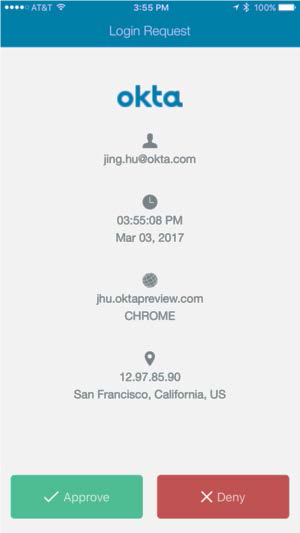
Approving an Okta Push Authentication
-
A notification will be sent to the device you designated in Multifactor Authentication Setup.
- Open the Okta Verify Application on the device you designated.
- Click Approve. This will cause Okta to open the application.
|